
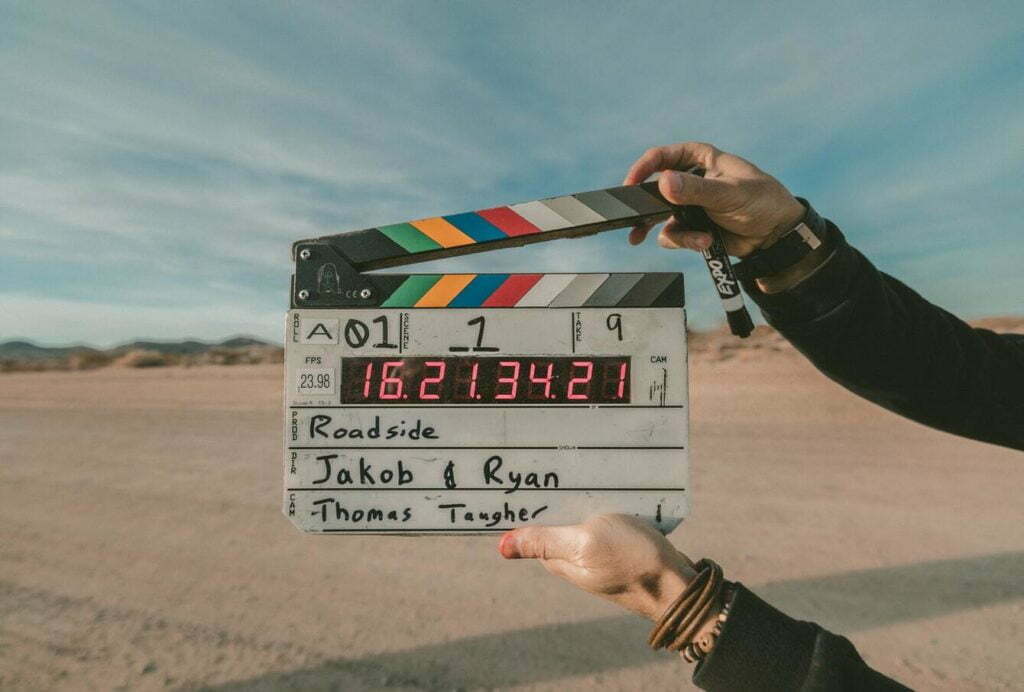
Tips and Tricks for Making Quality Videos
What makes a good video? There’s no straight answer, but if your target audience likes it, it has accomplished the primary goal. Focus your efforts on improving the quality, and you’ll increase the chances of your audience liking your video. Here are some things to keep in mind that will help you when making or identifying good videos.
Keep in mind that we’re talking about marketing videos here, not storytelling or fiction short films.
Have a Focus
Every video should have and serve a purpose. Ask yourself, before hitting the record button: what is this video about? If you don’t have a clear and concise answer, you’re not ready to make your video yet.
Your video needs an interesting subject. This means a subject in the abstract topic sense, but also on-camera. If it’s a person, they should be engaging and charismatic.
Preparing your script with a purpose in mind will help create a focused video with maximum impact.
Keep it Simple
Resist the urge to throw in every idea you have. Simple videos are better. They also tend to be less expensive to execute. Simple doesn’t mean easy or fast, though.
Whiteboard explainer videos are a great example of simple videos that aren’t easy. The simplicity of this video is in the idea—a voiceover illustrated by a person drawing on a whiteboard. The drawing itself is not easy–the artist obviously has some skill. And the script likely took some time to think out and write. But it’s just one camera, following the artist’s hand in a continuous sped-up shot for the entire video.
The script is simple, too. It’s one idea, explained and expanded on.
But that one idea is key here. A compelling, simple video requires a strong concept.
Keep it Short
Short videos tend to be the most effective. For marketing videos posted on social media, aim for around two minutes. For social media, grabbing the viewer’s interest in the first 2 seconds is crucial.
Videos on YouTube can be longer. Depending on the topic, around 4 minutes is a reasonable length.
When making a video, the goal should be to make it as short as possible. Cut out anything that isn’t necessary. Carefully crafting your video to keep your audience engaged will help ensure your viewers keep watching until the end. Videos on YouTube that get full-length views are more likely to be recommended to other viewers by the platform’s algorithm, which will help you with your brand awareness goals and expose your video to a larger pool of potential leads.
If your into isn’t short and snappy with a good hook, though, you’ll never get people to watch the first 10 seconds, never mind watching to the end. So keep your intro short, and include the hook in the first few seconds. This means eliminating the rambling intro welcoming people to your channel or video.
Elements of a good video
Certain technical aspects of video making will objectively make your video better. Paying attention to these technical aspects won’t make a bad video good, but they will improve the look of the video.
Composition
Composition is all about paying attention to what you see on the video screen. A well-composed shot can make your video look more pleasing and more professional.
Even if you’re just self-filming by talking into the camera, the composition is important. In this case, you want to pay attention to your background. Always aim for a clean and uncluttered background when framing a shot. Everything in the shot should be there for a reason.
If you’re at a desk within a room, you can use the walls and shelves to add information to the scene. A poster with your company logo, props related to your company’s work, and using company colors are all options for creating intentional backgrounds.
If the background is distracting or overly busy and there’s nothing you can do about it, you have two options. Either find a different location to shoot or blur the background by opening up your lens to create a shallow depth of field.
Composition is also the way a shot is framed. You might have heard of the rule of thirds. It’s a simple rule of composition that works as a shortcut to make sure your videos look good. If your camera has a grid view, like on iPhones and most DSLRs, you have a built-in rule of thirds cheat sheet. Just put the person’s eyes or head on one of the intersecting points, and you’re good to go.
Leading lines are a way to draw the viewer into the image. Think of a person standing on railway tracks, filmed from a low angle. The tracks draw the eye in and toward the subject. You can use leading lines as a way to direct the viewer’s eye toward something you want them to notice, or you can use it to create interest in an otherwise static shot.
Lighting
Good lighting is essential to any video. At the very least, you want your subject to be well lit so that they can be easily seen. You don’t need any special equipment to do this. If you’re shooting indoors, just put your subject near a window. North-facing windows produce a nice, soft light, but any window will work.
There are a few things to keep in mind here. The window should be behind or to the side of the camera so that your subject isn’t backlit. This will prevent turning your subject into a silhouette.
When your subject has the window to their side, you may notice that one side of their face is too dark. If this happens, you can bounce light into the shadow areas using a piece of white poster board or foam-core board. This will lighten the shadow areas to bring out details. It’s a subtle effect, and it will help make your shot look better.
When shooting inside, also pay attention to the color of your lights. You want a consistent light color from shot to shot within the same location or room. To start, set your camera’s white balance on something other than auto. Auto white balance constantly readjusts the white balance for the scene. This is helpful for still images but can be a problem for video, where movement may introduce several different light sources. You’ll notice the colors in your video change as the camera tries to find the right white balance. The daylight is a good choice but scroll through your camera’s options to see what looks best for the scene.
Outside, the only light source is your sun which is obviously out of your control. But there are ways you can make it look better. Shooting on overcast days will give you a more even light, with less contrast between highlights and shadows. This is great for avoiding highlights that are completely blown out and black shadows that lack any details. You’ll also avoid having squinty subjects since there’s no bright sun to get in their eyes.
The best time to shoot outdoors, especially if you’re showing off the scenery, is just after sunrise and just before sunset, during what is known as the golden hour. This is when the sun is low in the sky, and everything has a nice, golden glow to it. It’s perfect for setting a mood and provides a warm tone for a flattering look.
The downside is that you don’t have much time to shoot. The light tends to change quickly at this time of day, so you’ll need to work quickly. Being well prepared, rehearsed, and ensuring everyone understands their role will help things run smoothly.
You don’t need a lot of fancy or expensive lighting equipment to improve the lighting of your videos. A few phones will do the trick. To get a hair light on an interview subject, use a phone flashlight and a rolled piece of paper to direct the light onto the person’s head from behind them. You can use this same approach to create a backlight on the person’s shoulder, which will help separate your subject from the background. Used with the bounce or fill light method, which uses the window as your primary light source, you can create a three-light setup relatively easily.
Movement
Movement is, in part, what separates video from photography. Whenever possible, include movement in your shots. If it’s a still scene where nothing on camera is moving, add a camera movement. The camera movement, however, should be intentional and motivated. In other words, there should be a reason that the camera is moving. It could be to bring something into the shot, include another person or viewpoint, or set up a transition to another shot. Avoid camera movements just for the sake of adding movement.
When moving the camera, try to be as smooth as possible. Handheld gimbals can help to smooth out camera movements, as can placing the camera on a wheel. For quick, no-budget social media video shoots, this might be as simple as using a skateboard or cart to create smooth movement.
Some standard camera movements are:
- Tilt, where the camera stays in one location but tilts up or down
- Pan, where the camera is stationary but moves from side to side
- Dolly, where the camera moves toward or away from the subject
- Truck, where the camera moves alongside the subject
- Zoom, where the camera is stationary and uses the lens zoom to get closer or further away from the subject
These movements can all be done handheld and don’t require special equipment. When shooting handheld, try to be as steady as possible; shaky video can be jarring to watch. If you notice your video shakiness detracts from your video, use a video editor that offers a stabilization filter, such as Adobe’s Premiere Pro.
Size Matters
One more aspect of video you need to pay attention to is your camera’s video settings. Opting for 4K is the best option. Yes, it will eat up more hard drive space and might cause some lag when editing on slower machines, but the benefits are worth it.
For videos destined for the internet, anything more than 1080 is overkill—Facebook, Instagram, and YouTube will all compress your 4K footage to meet their 1080 specs. So why shoot in 4K? Think of it as a safety buffer.
The larger size gives you room to zoom in or reposition your framing when editing without sacrificing any loss in quality. This is great if you decide you want to reframe your shot slightly. Like when you didn’t notice that person at the edge of the frame. Having a 4K source video will allow you to zoom in or crop without degrading the image. You can think of it as an added digital zoom, in a way.
Shooting in 4k will also help to future-proof your videos. To do this, edit in a 4k space, not a 1080 space. You’ll lose the ability to fake zoom, but you’ll gain the ability to export ultra-high-def video whenever you need it. As 4K becomes more popular, phones and computer screens will eventually adopt this new standard, the same way they moved from standard definition to high definition. When this happens, you’ll already have your 4K video ready to go.
If you’ve ever noticed that your video doesn’t look as crisp as it should once you upload it, the chances are that you haven’t selected the ideal export settings. Current video editing software has export presets for most common uses, including Facebook and YouTube. Select the appropriate preset for the best results.
Creating quality video isn’t easy, but the results are worth it. Not every team has the resources, though. For lean operations, outsourcing can often be the best way to get high-quality video, especially when timelines are tight.
Dream It Reel has professional video teams ready to bring your next project to life. Here’s how to get started.

